ReCapture-app
How to Use ReCapture
Import an old photo and use the ghosting overlay to perfectly recapture the moment! Adjust the opacity for a seamless alignment. Once you hit capture, ReCapture saves your new photo along with two comparison images—one stacked and one side-by-side—to showcase the evolution of the scene.
Step-by-Step Guide
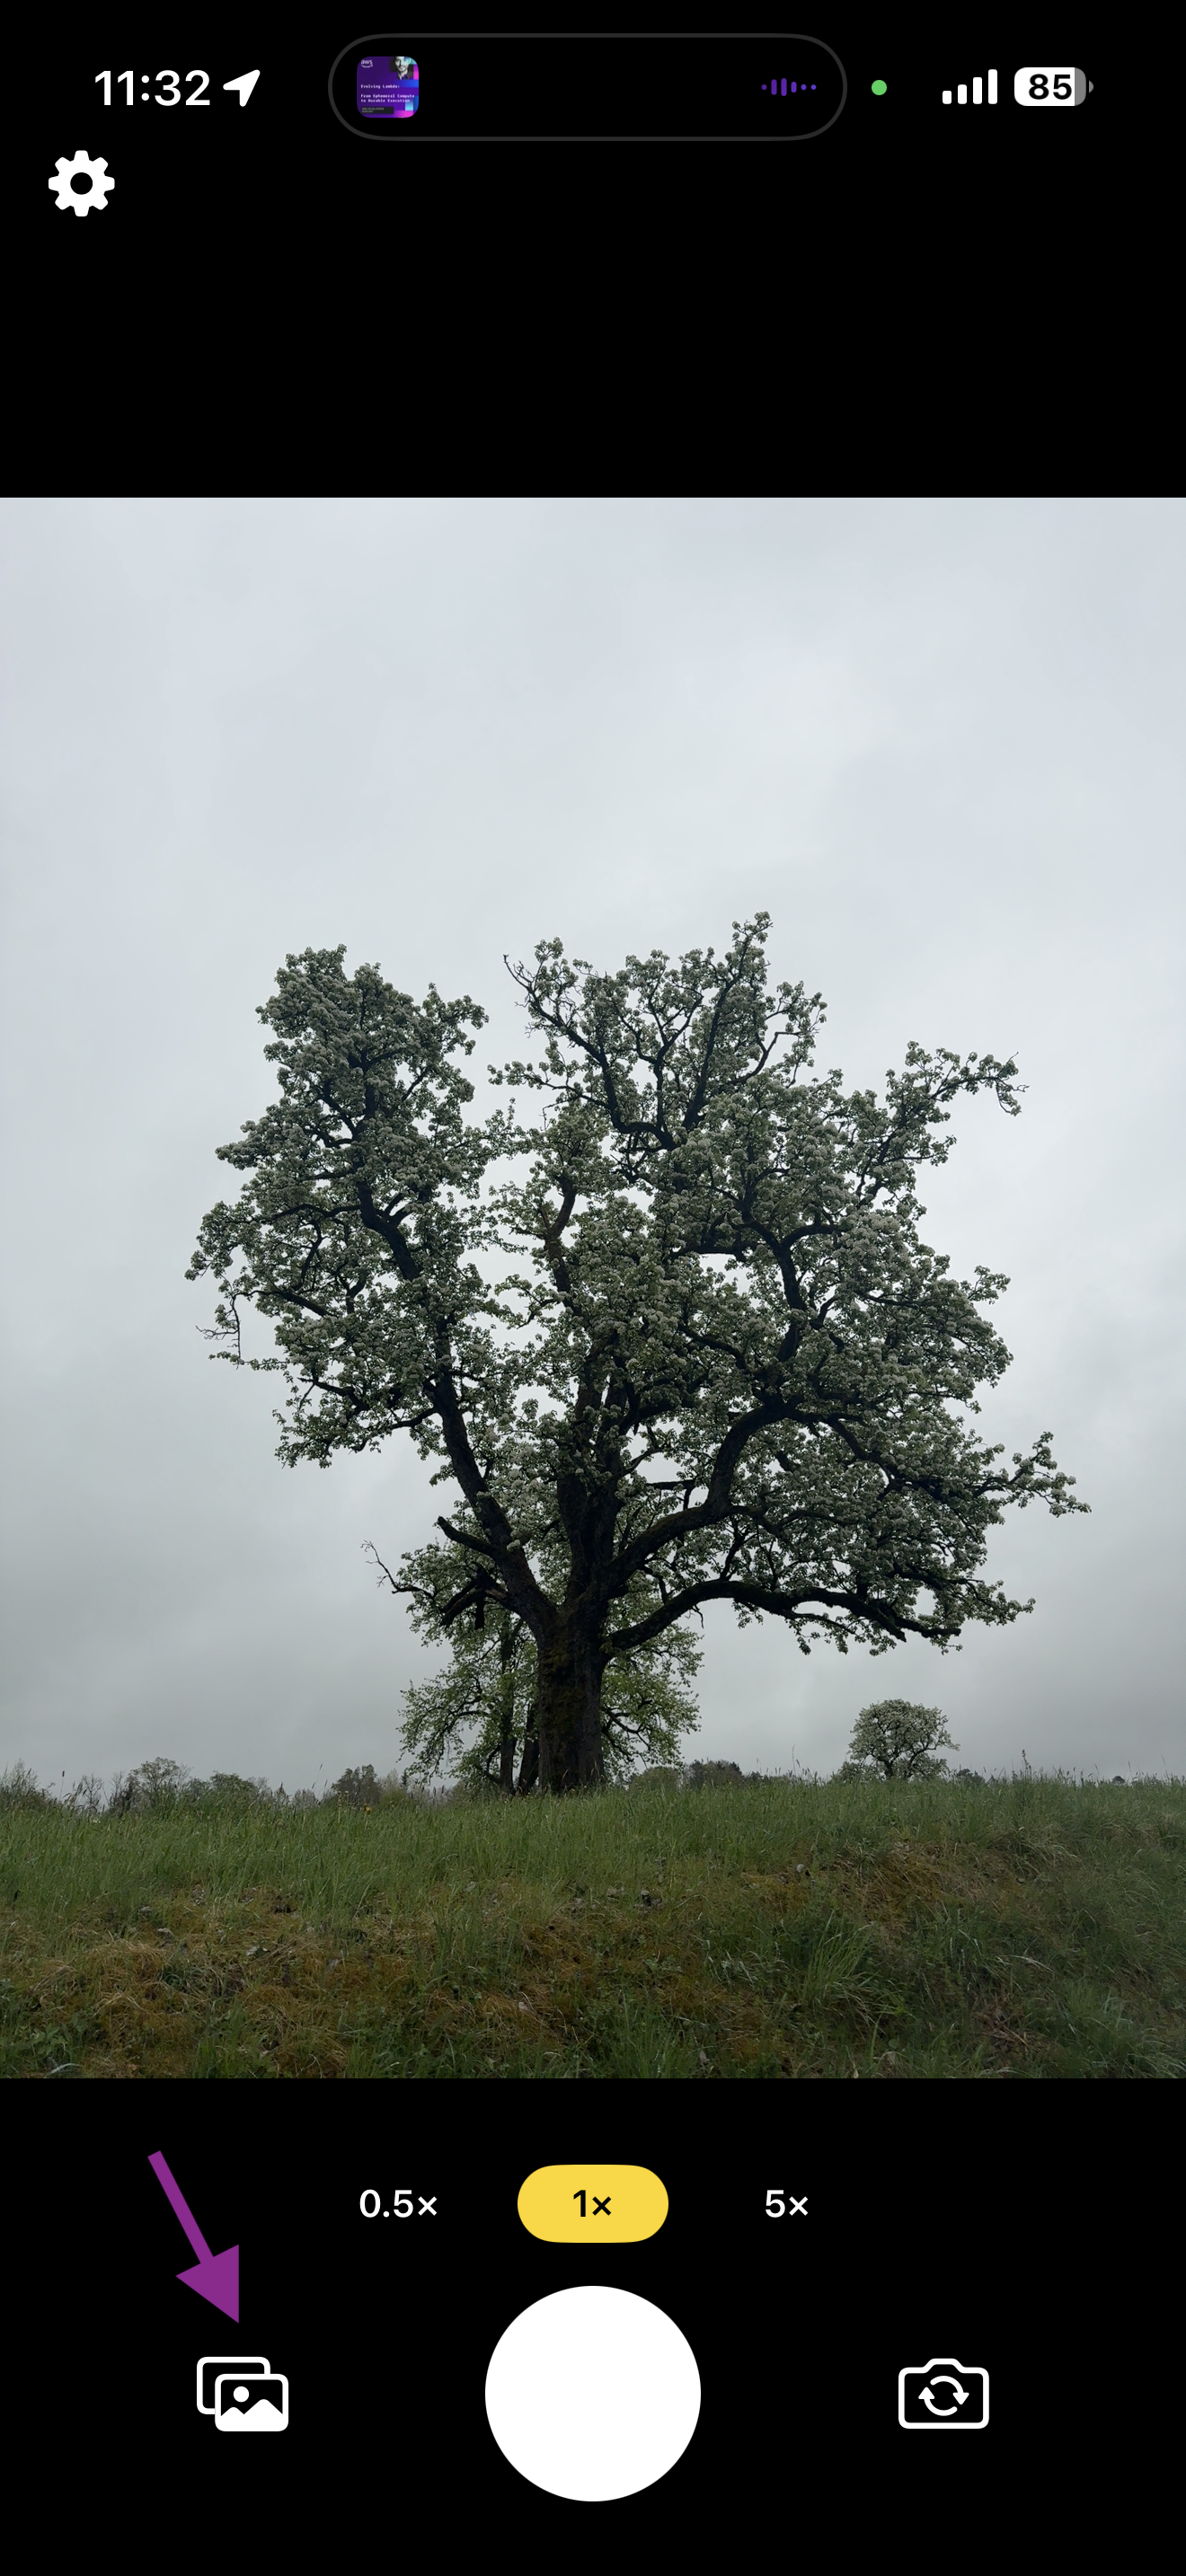
Step 1 — Open Your Photo Library
Tap the photo library icon in the bottom-left corner of the camera screen to open your photo library.
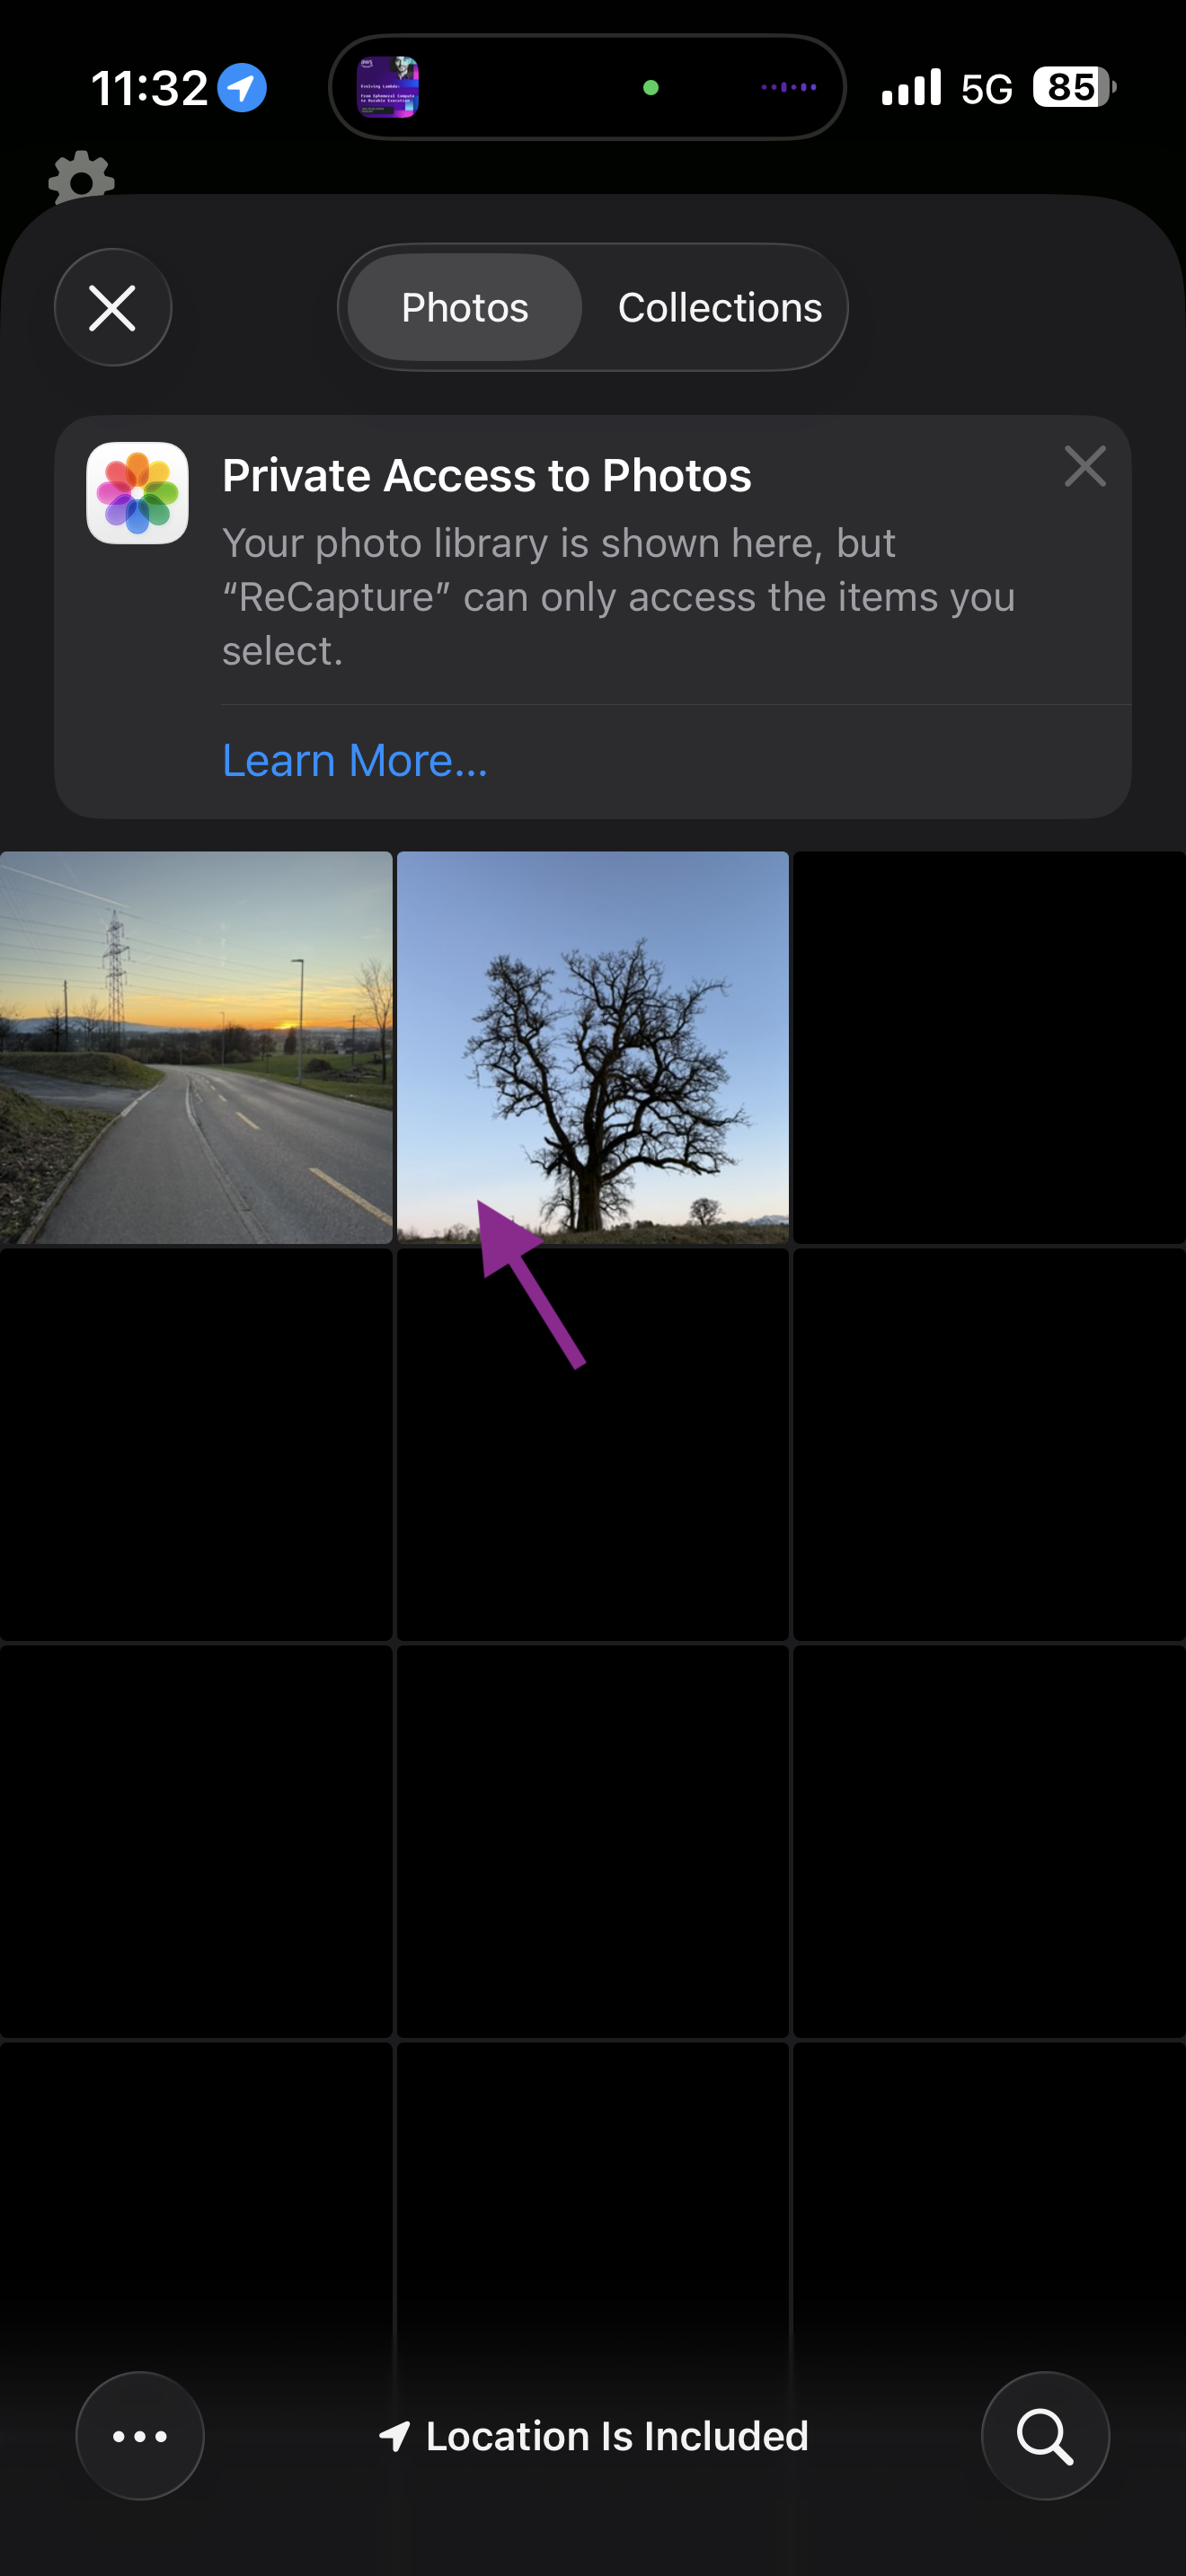
Step 2 — Pick Your Image
Browse your library and tap the photo you want to recapture. ReCapture only accesses the photos you select.
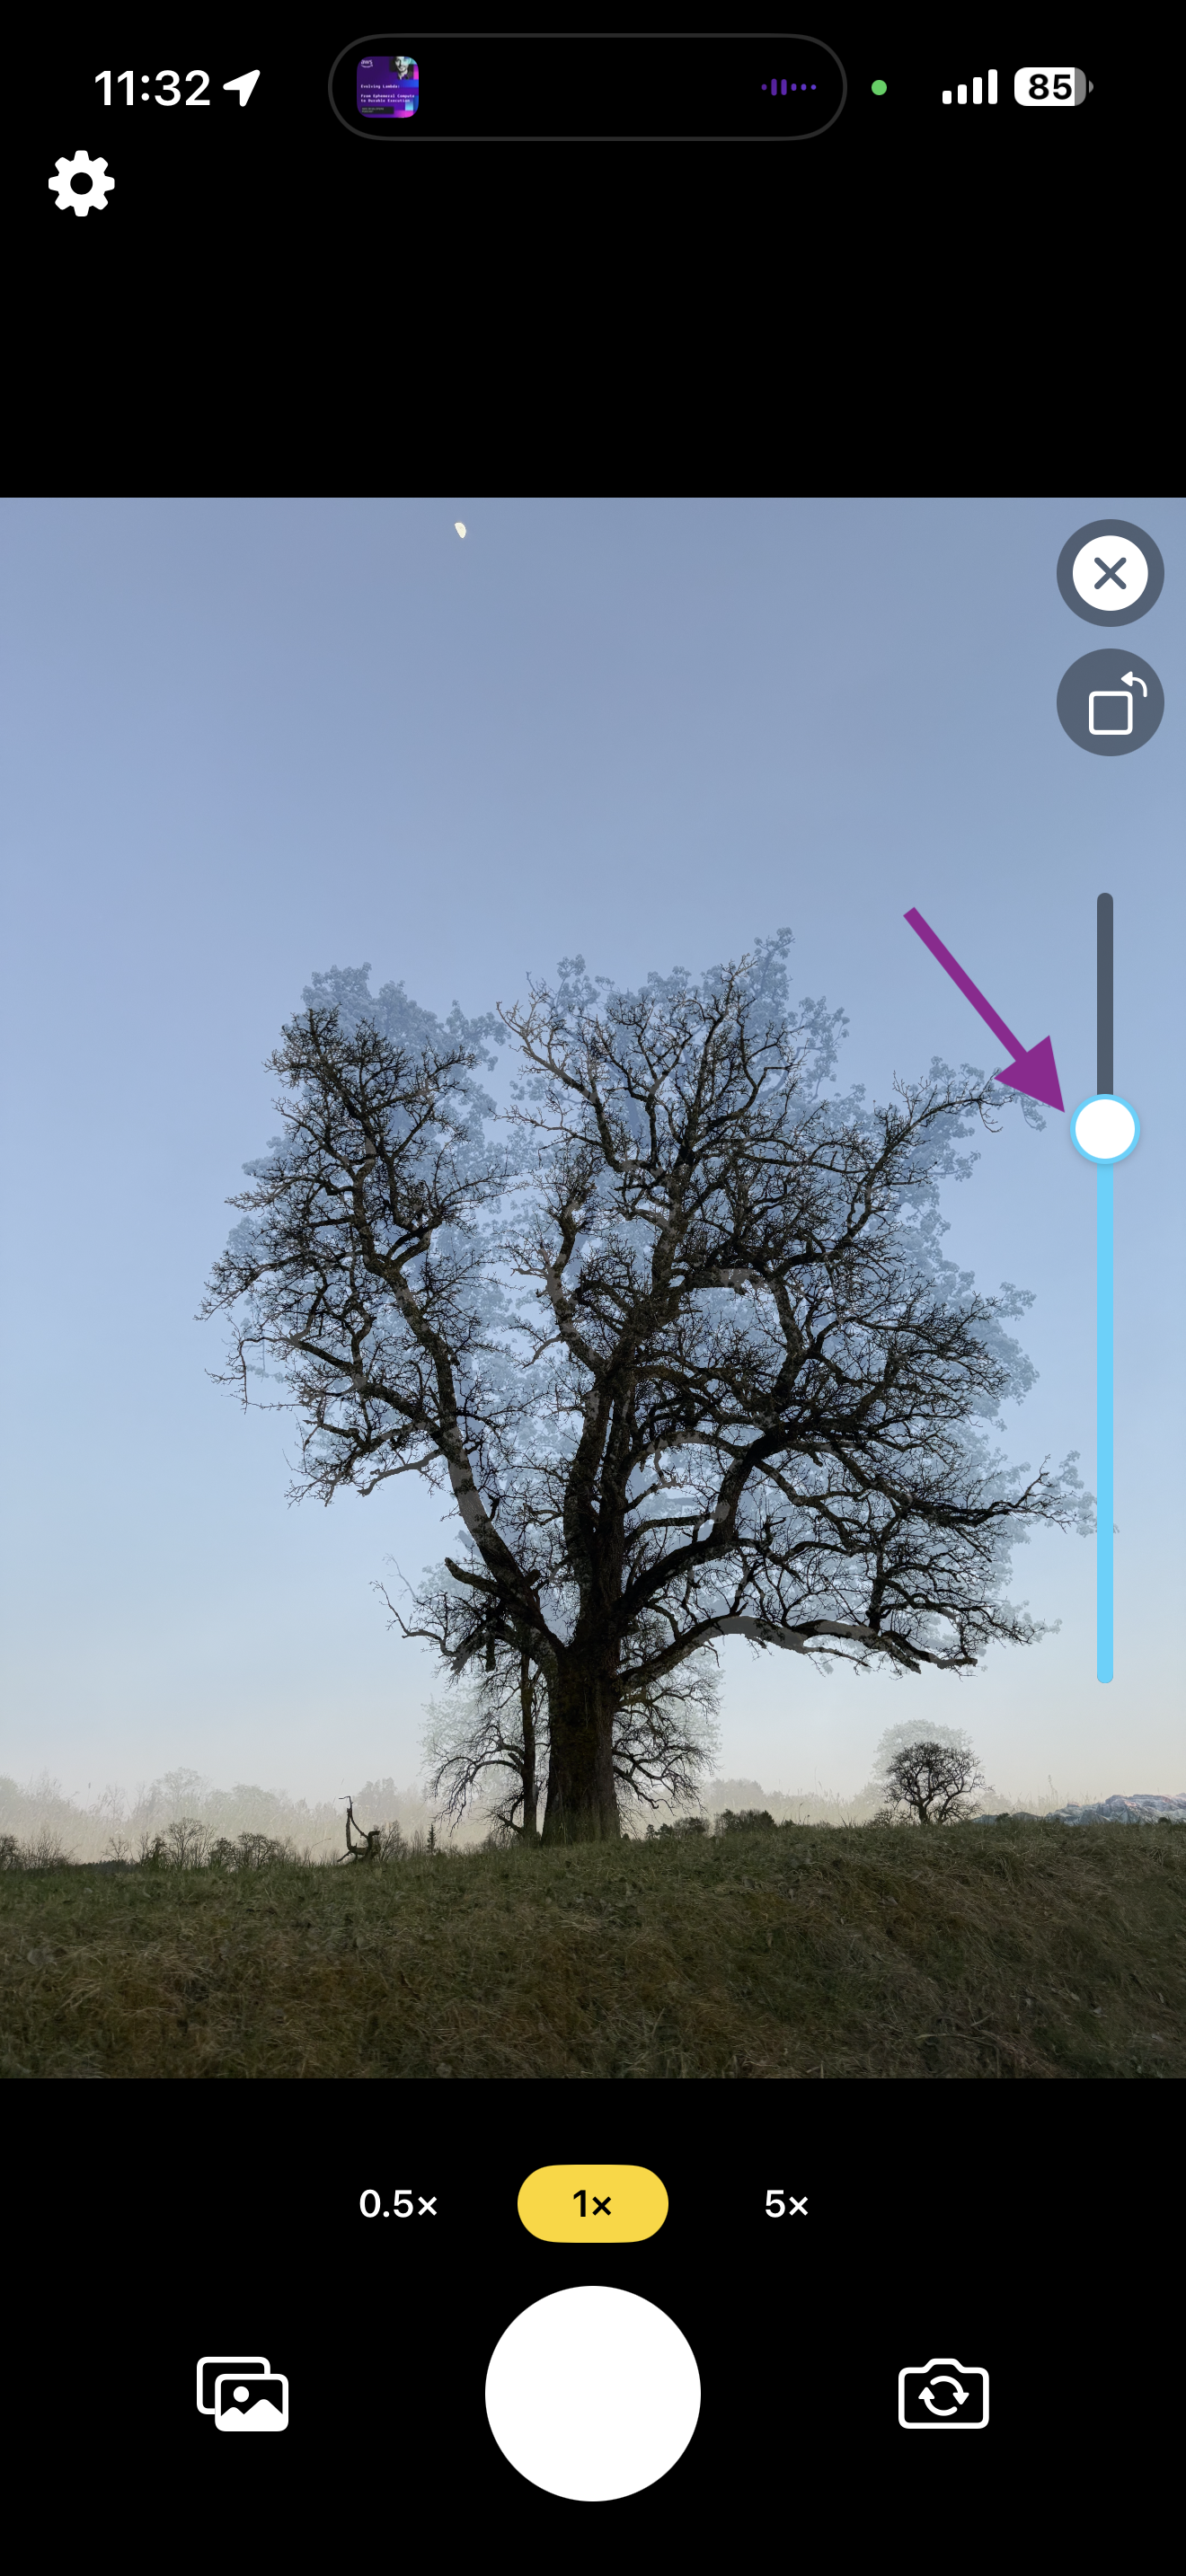
Step 3 — (Optional) Adjust the Opacity Slider
Your selected photo will appear as a semi-transparent ghost overlay on top of the live camera view. Use this as a guide to reposition yourself and match the original framing.
Drag the opacity slider on the right side of the screen to adjust how visible the ghost overlay is.
Step 4 — Capture the Moment
Once your composition matches the original, tap the white capture button at the bottom center of the screen. A confirmation will appear when your photos are saved.
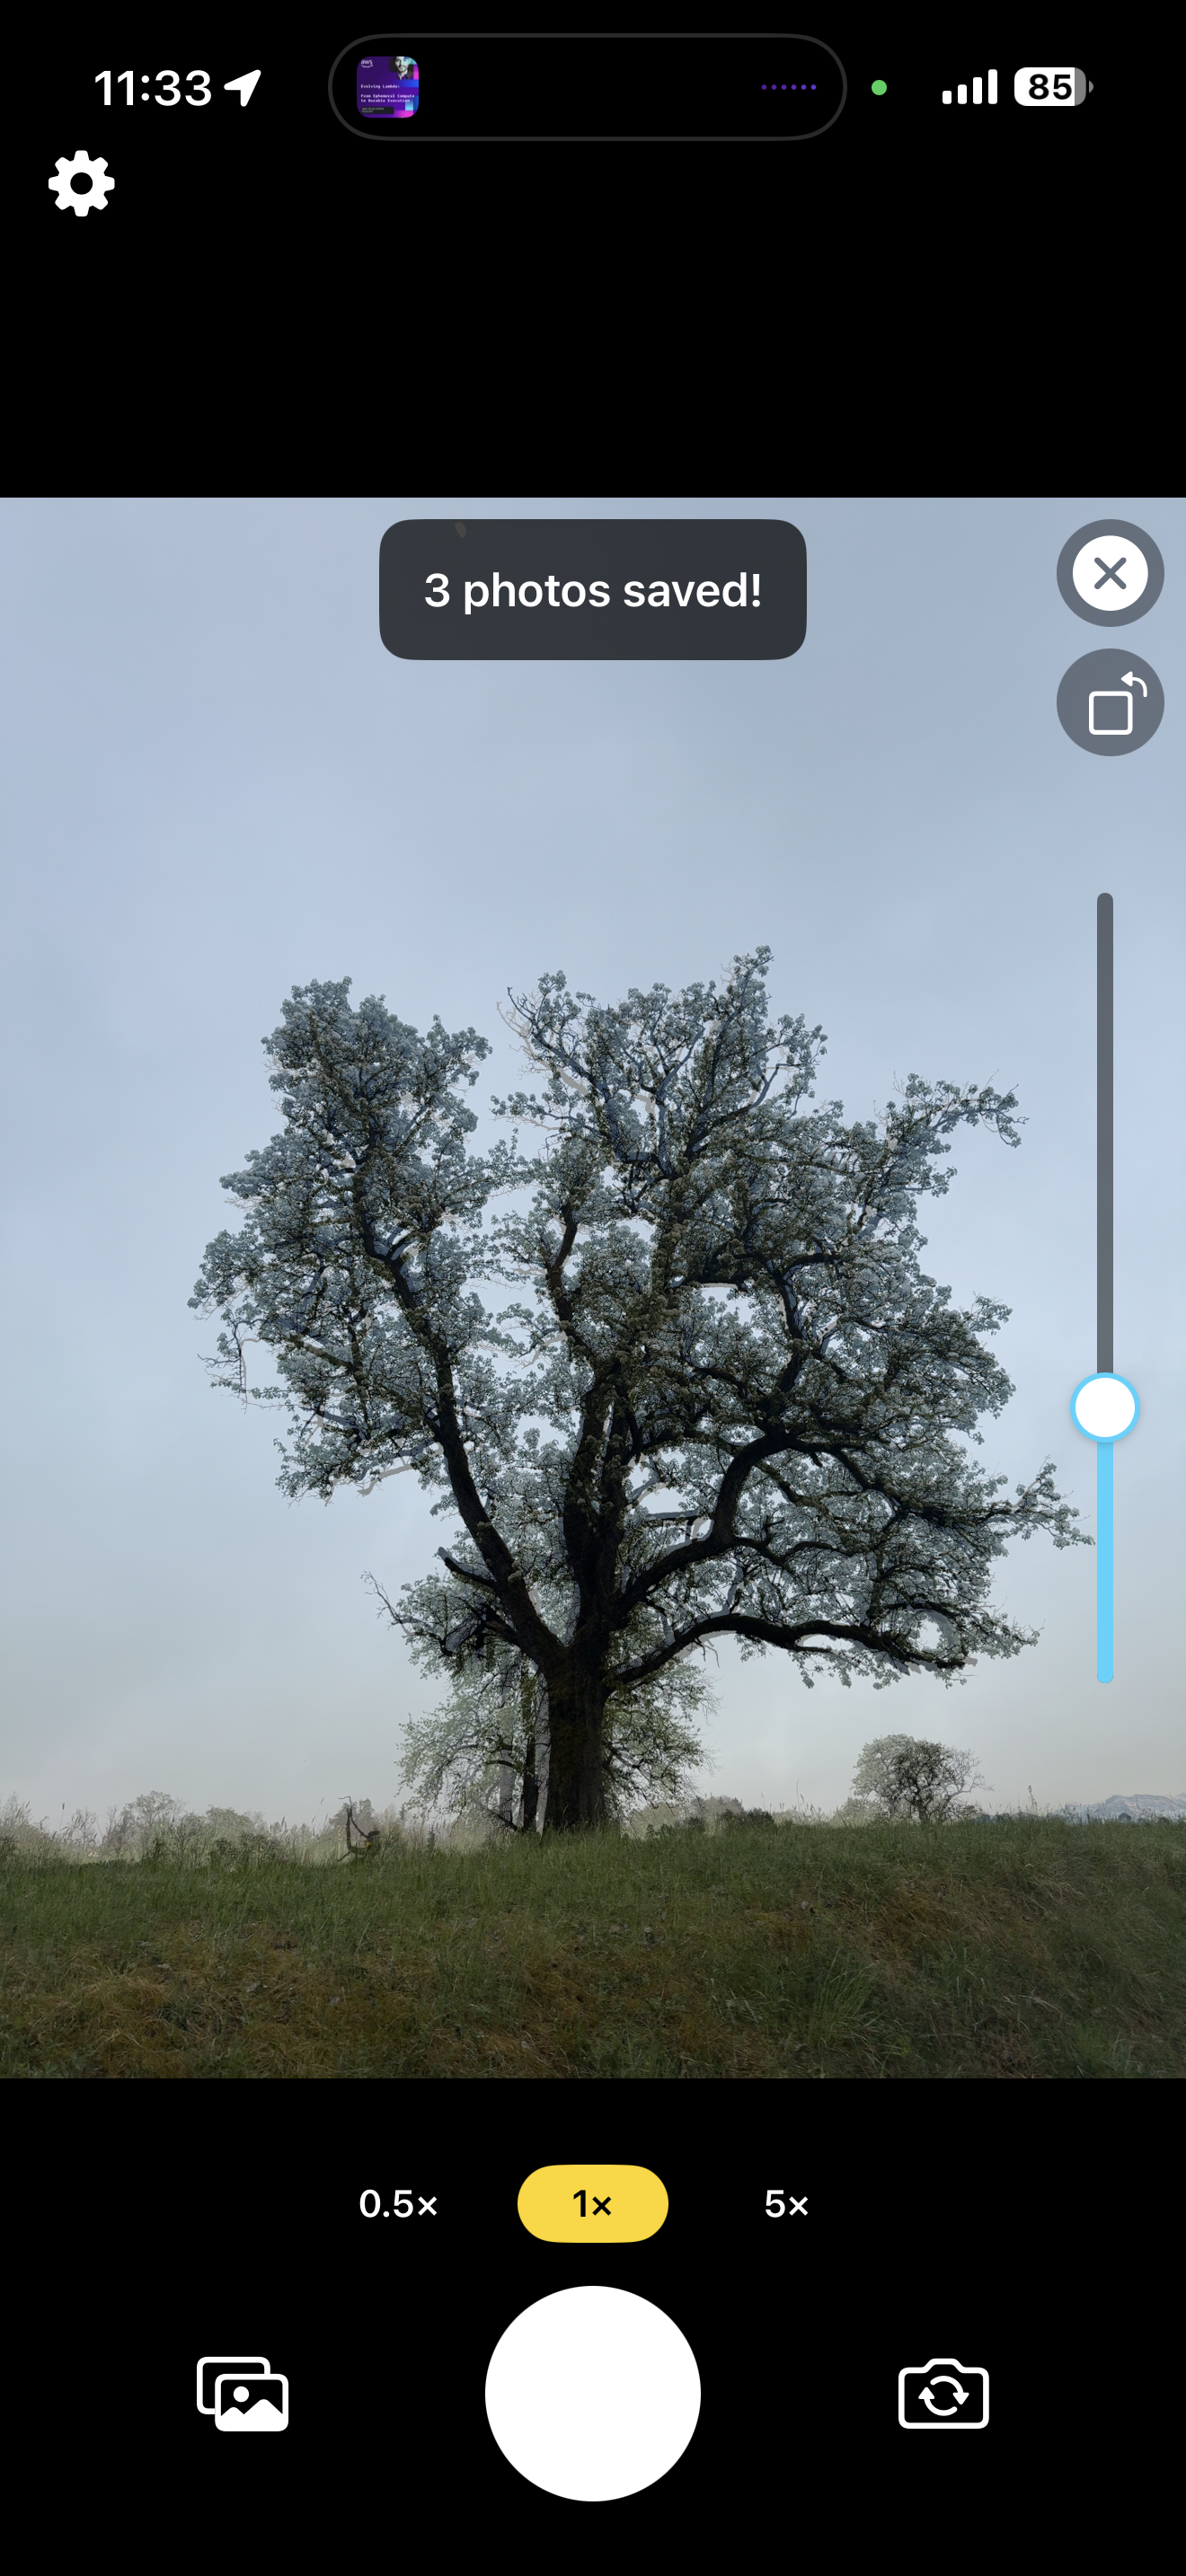
ReCapture automatically saves 3 photos to your library:
| Photo | Description |
|---|---|
| New Photo | The freshly captured image |
| Stacked Comparison | Old and new photos layered on top of each other |
| Side-by-Side Comparison | Old and new photos displayed next to each other |
Tips
- Use the 0.5x, 1x, and 5x zoom buttons to match the focal length of the original photo.
- Use the rotate image button if the imported photo has the wrong orientation set.
- The camera resizes if you import a 9:16 image.
- Use the mirrored image button for selfies if needed.
Privacy Policy
ReCapture: Photo Re-Creation is built with a “Privacy-First” architecture.
-
No Data Collection: We do not collect, store, or transmit any personal information, usage statistics, or analytics.
-
Local Processing Only: All photo alignment and processing happen strictly on your device. We do not have access to your images.
-
Camera & Photo Library Access: The app requires access to your Camera and Photo Library solely to provide the core re-creation features. Your photos are never uploaded to any external servers or shared with third parties.
-
No Tracking: This app does not contain any third-party tracking or advertising SDKs.